Wood Wastebasket
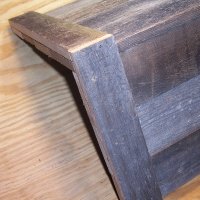
The wood wastebasket woodworking project can be a functional accessory for your patio, deck, or wood shop. I used old, weathered cedar fence boards, but you can use new materials if you don't want a rustic appearance.

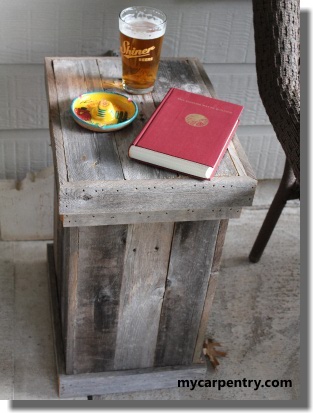
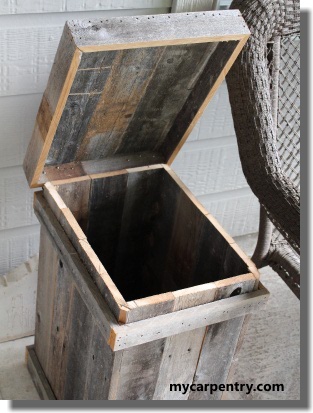
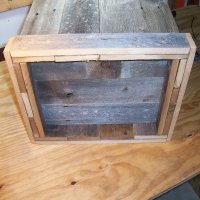
I recently added a closeable lid to this waste basket. When the lid is closed, you can use the container as an end table on your patio. If you have any suggestions or questions about this project, please don't hesitate to contact us.
Building the Wood Wastebasket
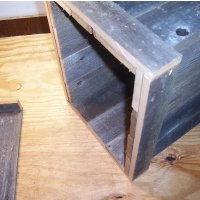
Building the wood wastebasket was simple. You may have noticed that I like to use old fence boards for many of my projects. The wood is free, and the rustic appearance looks good on a patio, deck, or workshop.
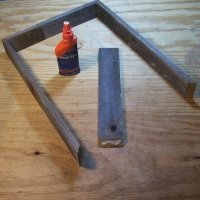
I fastened all the pieces using an air nail gun with 1.25" finish nails. You can use other fasteners if you choose, so long as they are long enough to fasten all the parts and short enough so they don't poke through the material.
The tools I used to build this project were a table saw, miter saw, air stapler, tape measure, pencil, and square.
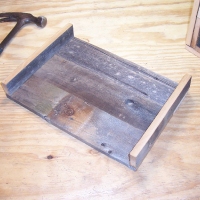
The outside dimensions of the wood waste basket are 16.25" wide X 13" deep X 23" high. The example project's uprights are all equal widths, but this is not a requirement. So long as the combined widths equal the overall width of the sides and end pieces, then you are fine. Examine the diagram below for details.

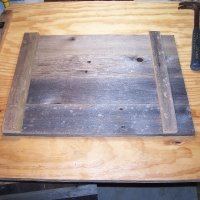
Assuming that the fence boards are 3/4" thick (and most of them are), subtracting 1 1/2 inches (the combined thickness) from 11" leaves 9 1/2". Divide 9 1/2" by three results in a width of 3 1/8" (roughly). Rip a couple of fence boards 3 1/8" and cut the lengths 21.5". Building the ends is similar to build the sides. The only difference is that horizontal pieces will stick past the edges of the uprights 1 1/2" on each side (assuming the fence boards and horizontal trim pieces are 3/4" thick).
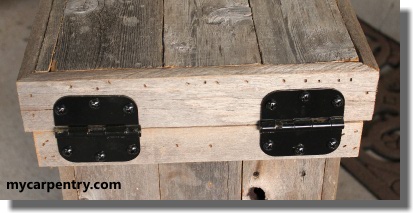
Adding Hinges to the Lid

I had some old brass door hinges in my garage to use for my project, so I didn't have to buy any new ones. I like the look of black metal with aged cedar, so I painted the hinges and the tops of the screws with RUST-OLEUM black enamel spray paint.
Place the lid on the wood waste basket and center it from side to side. Mark the holes with a pencil or nail and pre-drill them for the size screw you plan to use to attach the hinges.
What next?
Return to Woodworking Projects.
Leave Wood Wastebasket and return Home.